
Hydrostatic Testing and Isolation Testing for Slab Leaks
Simple water and pressure tests prove whether a leak exists — before anyone touches your concrete.
Hydrostatic Testing: Quick Answers
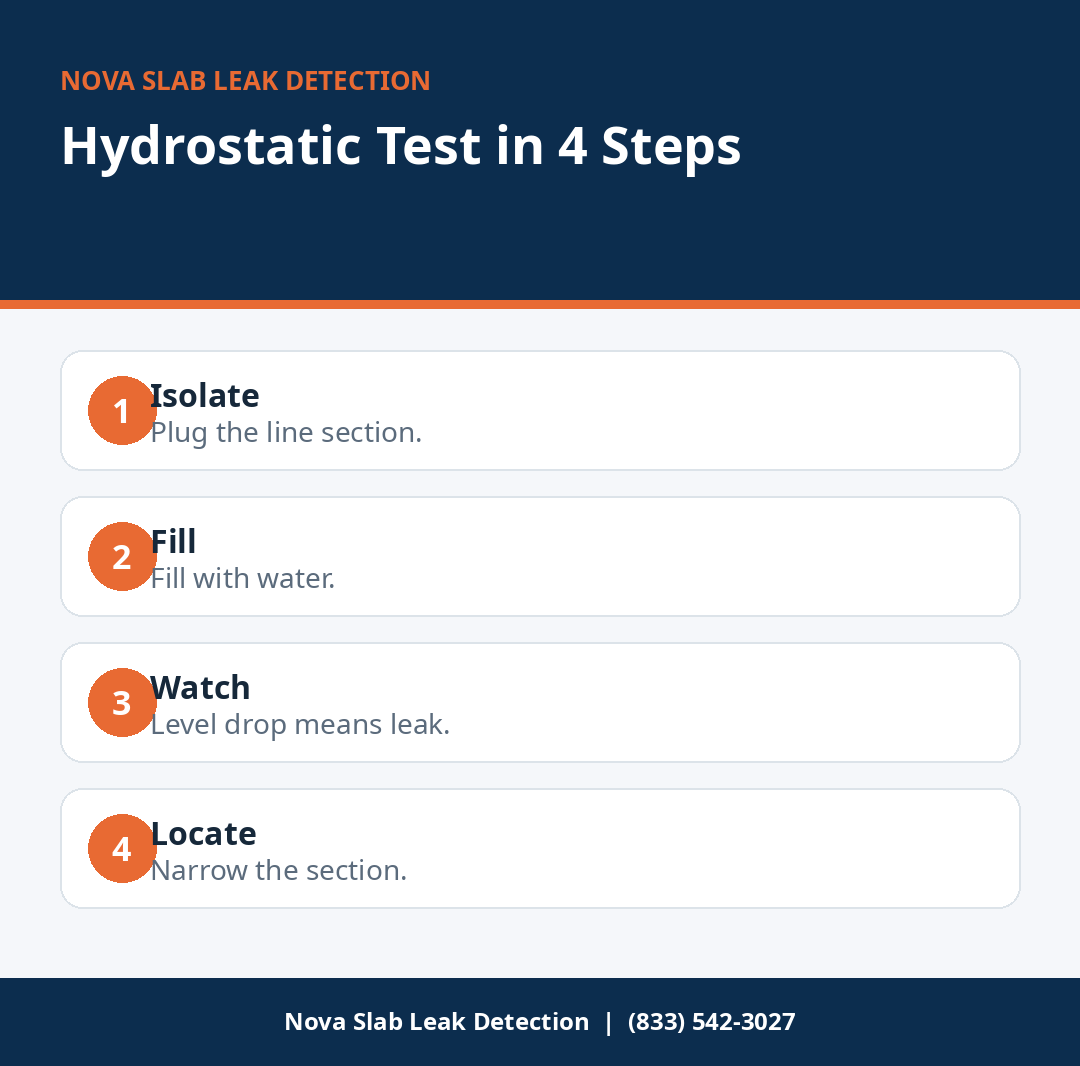
- Hydrostatic Testing vs. Isolation Testing: What’s the Difference? Both tests answer one question — “is there a leak?” — but they test different pipes.
- How Long Does Hydrostatic Testing Take? Plan for testing to fit inside a standard detection visit, which usually takes 1 to 3 hours total.
- When Should You Call for Hydrostatic Testing? Call Nova at (833) 542-3027 when your meter test shows unexplained water loss, or when you need proof of a leak for a home sale or insurance claim.
- How Much Does Hydrostatic Testing Cost? Hydrostatic and isolation testing are normally included in a standard detection visit, which runs $150-$500 nationally, up to about $600 for complex homes — national estimates as of 2026.
Hydrostatic Testing vs. Isolation Testing: What’s the Difference?
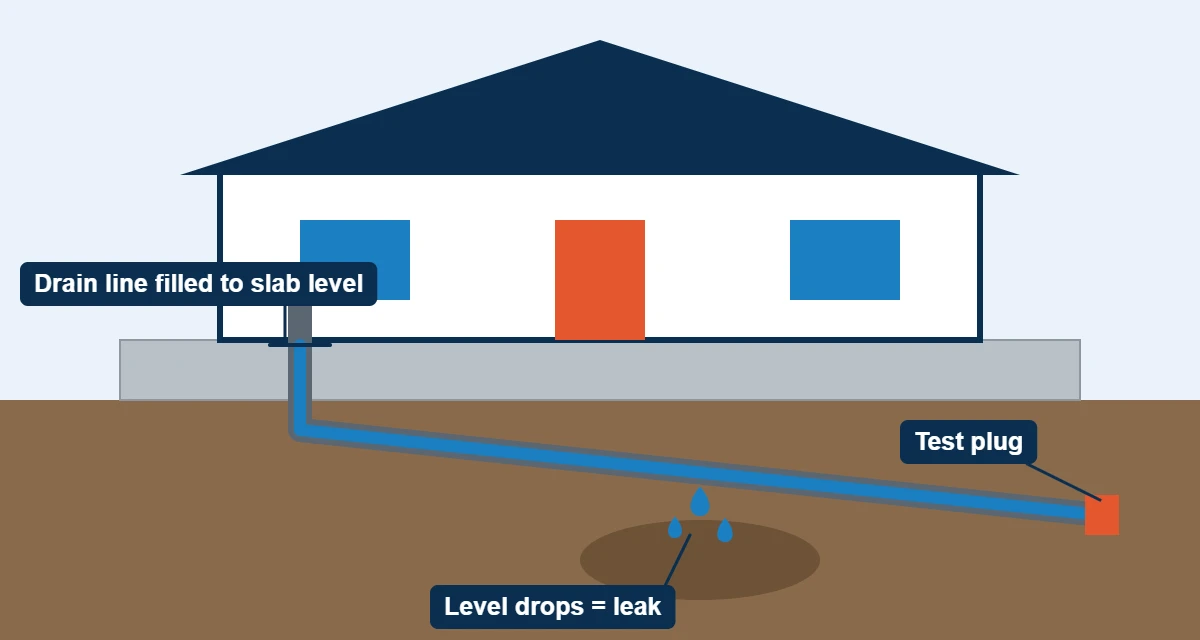
Both tests answer one question — “is there a leak?” — but they test different pipes. Hydrostatic testing fills your drain lines with water and watches whether the level drops, while isolation testing pressurizes hot and cold supply lines and watches whether the pressure holds. That tells the technician which system is leaking before pinpointing begins.
This distinction matters because the two systems need completely different repair approaches. A drain-line break under the slab is handled differently from a pressurized supply-line leak, so the first job is always to find out which one you have. That is what these tests do, and it is why they are a standard first step in professional slab leak detection.
| Hydrostatic testing | Isolation / pressure testing | |
|---|---|---|
| Tests | Drain (sewer) lines | Hot and cold supply lines |
| How it works | Fill the lines with water and watch the level for 15 to 30 minutes | Pressurize the lines and watch the gauge for a pressure drop |
| A “failed” test means | The water level drops — a crack or break is letting water out | The pressure drops — a supply line is leaking |
| Pinpointing follows with | Camera inspection | Acoustic listening, thermal imaging, or tracer gas |
How Does a Hydrostatic Test Work, Step by Step?
The test is simple in concept and careful in execution. Here is what your technician does.
- Seal the system. The technician installs inflatable plugs in the drain lines, usually at the main cleanout, so water cannot escape downstream.
- Fill the lines. Water is added through a standpipe or fixture until the drain system under the slab is full to the test level.
- Mark the level. The starting water level is marked precisely on the standpipe.
- Wait and watch. Over 15 to 30 minutes, the technician monitors the level. Drain lines should hold water with almost no drop.
- Read the result. A noticeable drop means water is escaping through a crack or break — a failed test. A steady level means the drain side is sound.
The test uses only water and plugs — no chemicals, no digging, no damage to your plumbing. If the test fails, the next step is usually a video pipe inspection to see exactly where the break is.
How Does Isolation and Pressure Testing Work on Supply Lines?
Supply lines work differently from drains: they are always under pressure, so the technician tests them with pressure instead of standing water. A gauge is attached to the system, the line is pressurized to a set level, and the technician watches whether the needle holds.
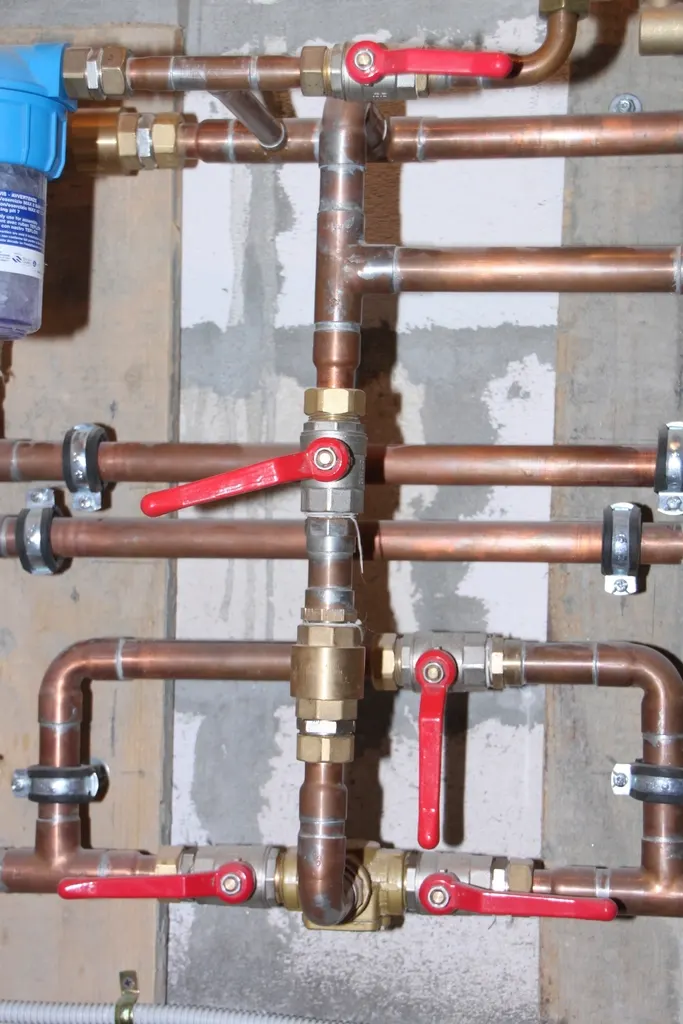
The key word is “isolation.” Your home has separate hot and cold supply runs, and the technician can valve them off and test each one independently. If the hot side loses pressure but the cold side holds, the leak is on the hot line — which immediately narrows the search and tells the technician that thermal imaging leak detection may work well for pinpointing. This step-by-step narrowing is what keeps the eventual repair area small.
What Does a Failed Hydrostatic Test Prove, and What Doesn’t It?
A failed test is meaningful, but it is honest to understand its limits.
What it proves: there is a leak in the tested section of pipe. A dropping water level or falling pressure reading is physical evidence, not a guess. This is often what homeowners, buyers, and insurers need to see before authorizing further work.
What it doesn’t prove: the exact location of the leak, how many leaks there are, or what the pipe looks like at the failure point. Testing confirms existence; pinpointing tools — acoustic listening, thermal imaging, or tracer gas — find the spot. Think of testing as the diagnosis and pinpointing as the X-ray that guides the surgeon’s hand.
Why Does Hydrostatic Testing Come Before Any Concrete Is Opened?
It is tempting to skip straight to the high-tech equipment, but testing first saves money and prevents mistakes. Opening concrete is the most disruptive and expensive part of any slab leak job, so every step that happens before it exists to make sure that step is necessary and correctly placed.
Testing also protects you from misdiagnosis. High water bills and damp floors can come from a failed water heater, a bad toilet flapper, or an irrigation leak — none of which are slab leaks. A pressure test that holds steady can rule out the slab entirely and redirect the search, saving you from paying for a repair you never needed. Moisture mapping can then help track down the real source.
How Long Does Hydrostatic Testing Take?
Plan for testing to fit inside a standard detection visit, which usually takes 1 to 3 hours total. A hydrostatic test needs its 15 to 30 minute observation window, during which the technician will often run other checks — listening with acoustic leak detection equipment or scanning with a thermal camera — so no time is wasted. Isolation pressure tests are quicker, often 10 to 20 minutes per line. You will have clear pass-or-fail results before the technician leaves.
What Can You Check Yourself Before Hydrostatic Testing?
You cannot run a hydrostatic test yourself — it requires plugs, standpipes, and knowledge of your drain layout. But one simple check tells you whether testing is warranted.
- Turn off every faucet, appliance, and irrigation zone in the home.
- Record your water meter reading, then avoid using any water for 30 minutes.
- Read the meter again. Any movement means water is going somewhere it should not.
- Also note: constantly running toilets, dripping faucets, or a humming water heater can mimic leak symptoms, so check those first.
If the meter moves with everything off and no fixture is at fault, professional testing is the right next step.
When Should You Call for Hydrostatic Testing?
Call Nova at (833) 542-3027 when your meter test shows unexplained water loss, or when you need proof of a leak for a home sale or insurance claim. The phone line is open 24 hours a day, 7 days a week, and calling is free. Nova’s own technicians carry out the work and give you the price before it starts. If you need the work done urgently, see emergency leak detection.
How Much Does Hydrostatic Testing Cost?
Hydrostatic and isolation testing are normally included in a standard detection visit, which runs $150-$500 nationally, up to about $600 for complex homes — national estimates as of 2026. Standalone testing is sometimes priced separately for real-estate transactions, so ask what is included when you book. If testing confirms a leak, detection usually pinpoints it within about 1 to 3 feet, and your repair options are compared on the slab leak repair page.
Hydrostatic Testing: Frequently Asked Questions
Services Related to Hydrostatic Testing
- Moisture Mapping: See exactly where the water went — before you pay to open the slab.
- Thermal Imaging Leak Detection: Infrared cameras reveal hidden hot-water leaks beneath your slab — before any concrete is cut.
- Tracer Gas Leak Detection: A safe, non-flammable gas mix pinpoints tiny slab leaks that other methods miss.
- Slab Leak Detection: How non-invasive detection finds a leak under concrete, with methods, cost and accuracy.
- Slab Leak Repair: Four proven ways to fix a leak under your slab — and how to pick the right one.
For general facts on household leaks and water waste, see the EPA WaterSense guide to fixing leaks.
Need Hydrostatic Testing? Call Nova Today
Call any time, day or night. Tell us your ZIP code and what you are noticing, and we will book your visit.